July 2, 2019


Hello everyone! 

I've been so MIA for more than half year on this blog. I've actually had this blog since 2013 and every few years it evolved into something different: lifestyle, makeup and now art. There have always been some breaks in between and it makes me feel strange every time I don't post for long periods of time, especially since this blog has been used to document my life ever since I started it.

But I digress.

My schedule has drastically changed since I started working on my field of study. I can be busy for weeks straight, including weekends, and have most of the following month free... I never know what's going to happen. This has been very hindering in terms of having a proper schedule because there are days when I don't even feel like looking at my laptop, thus my lack of posts.

On my free time I've been learning how to code (I have something planned to release until the end of summer!),  posting some finished digital paintings on my Instagram and now I'm making an effort to get back into blog action!

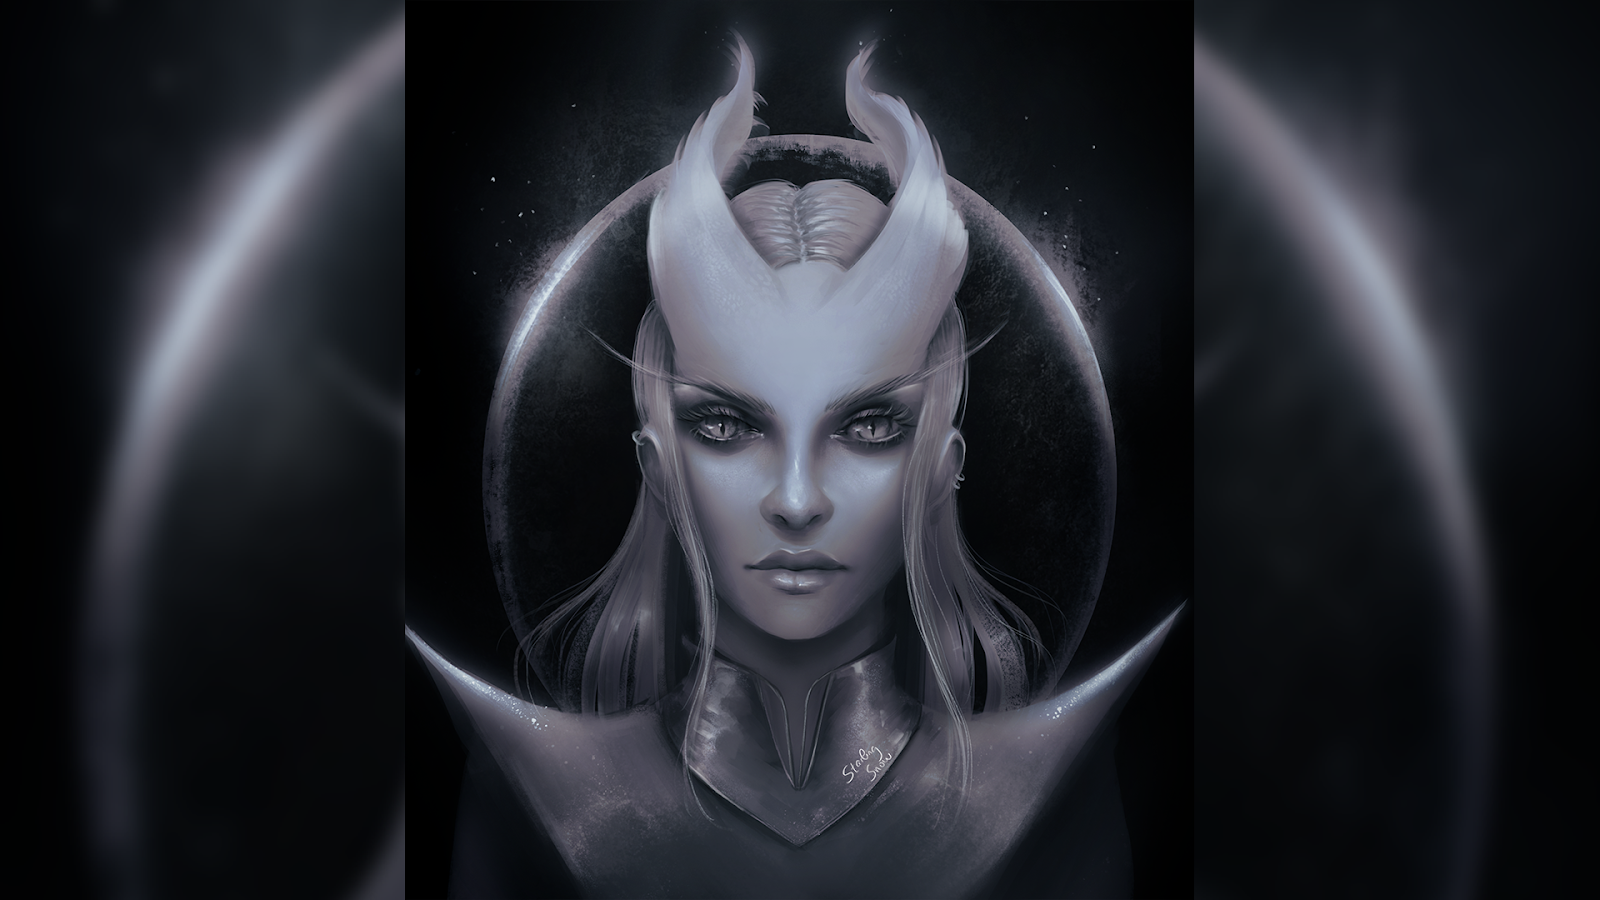
For today's post, here's a digital painting that has been sitting on my blog's draft box since last year. As always, I just use Photoshop and a small sized Wacom tablet.

I've been loving to play around with blue, gray and yellow tones; you'll be seeing it a lot on my next posts! I love the vibe and depth that you can create with that color combo. And of course, I love painting portraits and get a bit weird with it sometimes!


I hope you like it and if you're interested in keeping up with what I've been doing, feel free to follow me on Instagram!


September 17, 2018

Hello everyone! Hope you had an awesome weekend!

I was very close to have this one finished by friday, but life got in the way. Still, sometimes it's nice to have an extra day or two so you're able to look at your painting with fresh eyes and make any required improvements. Another plus is that I had planned something pretty quick and simple for the background (gradients with some textures) so it was nice to have the time to put some effort on the bg!
I really had lots of fun with the outfit design as well as playing around with the lighting and shadows by messing around with the Adjustment Layers and their Modes.

I've mentioned on a few posts back that I would link the brushes that I've been trying out lately and I've been forgetting to add them, so here they are:
https://www.deviantart.com/conorburkeart/art/Brushes-663943084
https://www.deviantart.com/aarongriffinart/art/BRUSHES-609357781
https://www.deviantart.com/houstonsharp/art/My-Brushes-424639896
I hope you like it and I'll see you soon!

Please subscribe to my blog's newsletter, so you can keep up with my blog posts and follow me on social media!
IG | YT | Gumroad | Prints

September 13, 2018

Hello everyone!! It's been a while! Hope you've been having a great week! <3

As I mentioned on my previous post, my schedule has been a bit tightened and unstable due to other jobs but I hope to get back in order with my weekly posts. I also want to start a sketchbook so I can post some quick pieces once in a while :D

I've been sitting on this piece for quite a few days now and I finally finished it. I've been loving playing around with new PS brushes, specially the textured ones!
I hope you like it and tomorrow I' will be probably posting another finished piece!
See you soon! <3

Please subscribe to my blog's newsletter, so you can keep up with my blog posts and follow me on social media!
IG | YT | Gumroad | Prints

September 4, 2018

Hi everyone! How have you been? I missed posting so badly.

Life happened and it's been a stressful week. I had the need to adjust myself these last days since I'll be having other obligations job wise in my main field of work - translation.
I hope I can still keep my mon/wed/fri blog posts, but if not I'll still try to get 3 pieces a week out just on different weekdays.

This portrait was actually taken from a full piece from another digital painting that I was working on, but as I wasn't very happy with it, I decided to just crop the face area and play around with it. It was fun working with curly hair which is quite different from my usual wavy/straight hair hairstyles.
I hope you like it and I'll see you soon! <3

Please subscribe to my blog's newsletter, so you can keep up with my blog posts and follow me on social media!
IG | YT | Gumroad | Prints

August 29, 2018

Hello everyone!

For today's post, I decided to make a step by step process of one of my previous pieces. I've already posted a few step by step "tutorials" before, where I gave a brief overview of the different stages of one of my pieces. If interested, you can check them out here and here :D (Just please note that these were made quite some time ago and my style and way of painting have changed since then!)

I actually love reading these sort of posts where people break down their process, so I really wanted to find the time to make one of these again!

I chose my fan art of Princess Bubblegum and Lumpy Space Princess, since it was a simple process and I liked how it turned out (which is honestly a bit rare).

So let's start!

 I. Greyscale sketch base

Some people start coloring their pieces from their lineart sketch, color blocked shapes or just loose lines to contour the main parts of the piece. 
From my experience throughout all these months, what I realised that works best for me, is to color from a greyscale painting. Greyscale is often advised for beginners to practice understand values and form. Personally, I prefer greyscale because I like to have a somewhat of a visual of what my final painting might look like.


II. Base colors

There are many many ways to color a greyscale painting. Some of them being: gradient maps, color adjustments, layer modes, etc. When I start to color a painting, I usually like to add an overlay color mode, (other popular layer modes to add colors at this stage are the color, soft light and multiply mode) and pick a base color of each element of my painting. Here I used the Overlay for the hair and outfit and Multiply, with a bright beige color, for the skin.
At this early point, I don't really care much if my base color is on point, because I just want to have a foundation to work off from.


III. Skin coloring and Lumpy

Here I started to render the face by first clicking on the Lasso Tool and going around her face, so I could freely color it without going over the hair parts. I mostly just used normal layer modes and went over the skin with the Soft Light mode so I could give her some lighting. I also started to color her outfit and to be honest, it was very overwhelming to work with so many pink shades u.u
At first I was just gonna paint Princess Bubblegum, but as it was looking too simple, I decided to add Lumpy too! I started with a purple color blob and shaped it in a "fluffy" way with the Lasso Tool.


IV. Hair and Outfit

At first I struggled with making her sleeve look puffy, but references are always great and can help us get avoid further frustration!
I also fixed her bangs and painted some hair strings on the side so the hair wouldn't look stiff.
Some hair strings were shaped to go over Lumpy so there could be a cute interaction between the two characters. This also helps to make them "blend" together in the painting!
 V. More Rendering and Highlights
       
Highlights are always a fun part to me - there are times during the process of a piece that I  don't have too much faith on it, for several reasons, and sometimes just a few highlights can make a difference and make it come to life. For the highlights I used the Color Dodge layer mode and I went over her hair, crown and Lumpy. 
I usually paint in a semi realistic style and the way I found to make Lumpy belong in the painting (since it's not human), was to play around with shadows and lights.
As I decided to have a sky as the background, I filled the bg layer with some light blues.
VI. Shadows/Highlights, Adjustment Layers and Background

With a Multiply layer mode, I darkened around her face and throughout her hair. With an Overlay and Color Dodge layer, I went over their head to give a "magical" aura and a few highlights on Bubblegum's skin, hair and face! 
I also used a Brightness/Contrast adjustment layer to darken the characters, thus making the background appear lighter. With Color Balance, I fine tuned the overall colors.
For the background, I added a few clouds and some flower petals as it's a really good way to fill some negative spaces without causing too much distraction.
Finally, I duplicated the whole painting into a new layer, used Gaussian blur and changed the layer mode into Soft Light with the opacity reduced.


And that's it! Not very complicated. If you'd like to check out a more detailed process, the PSD file for this digital painting, is up on my Gumroad here! :)

I hope this can be of some use and if you have any questions, be sure to ask! :)

See you soon! <3

Please subscribe to my blog's newsletter, so you can keep up with my blog posts and follow me on social media!
IG | YT | Gumroad | Prints
Related Posts Plugin for WordPress, Blogger...